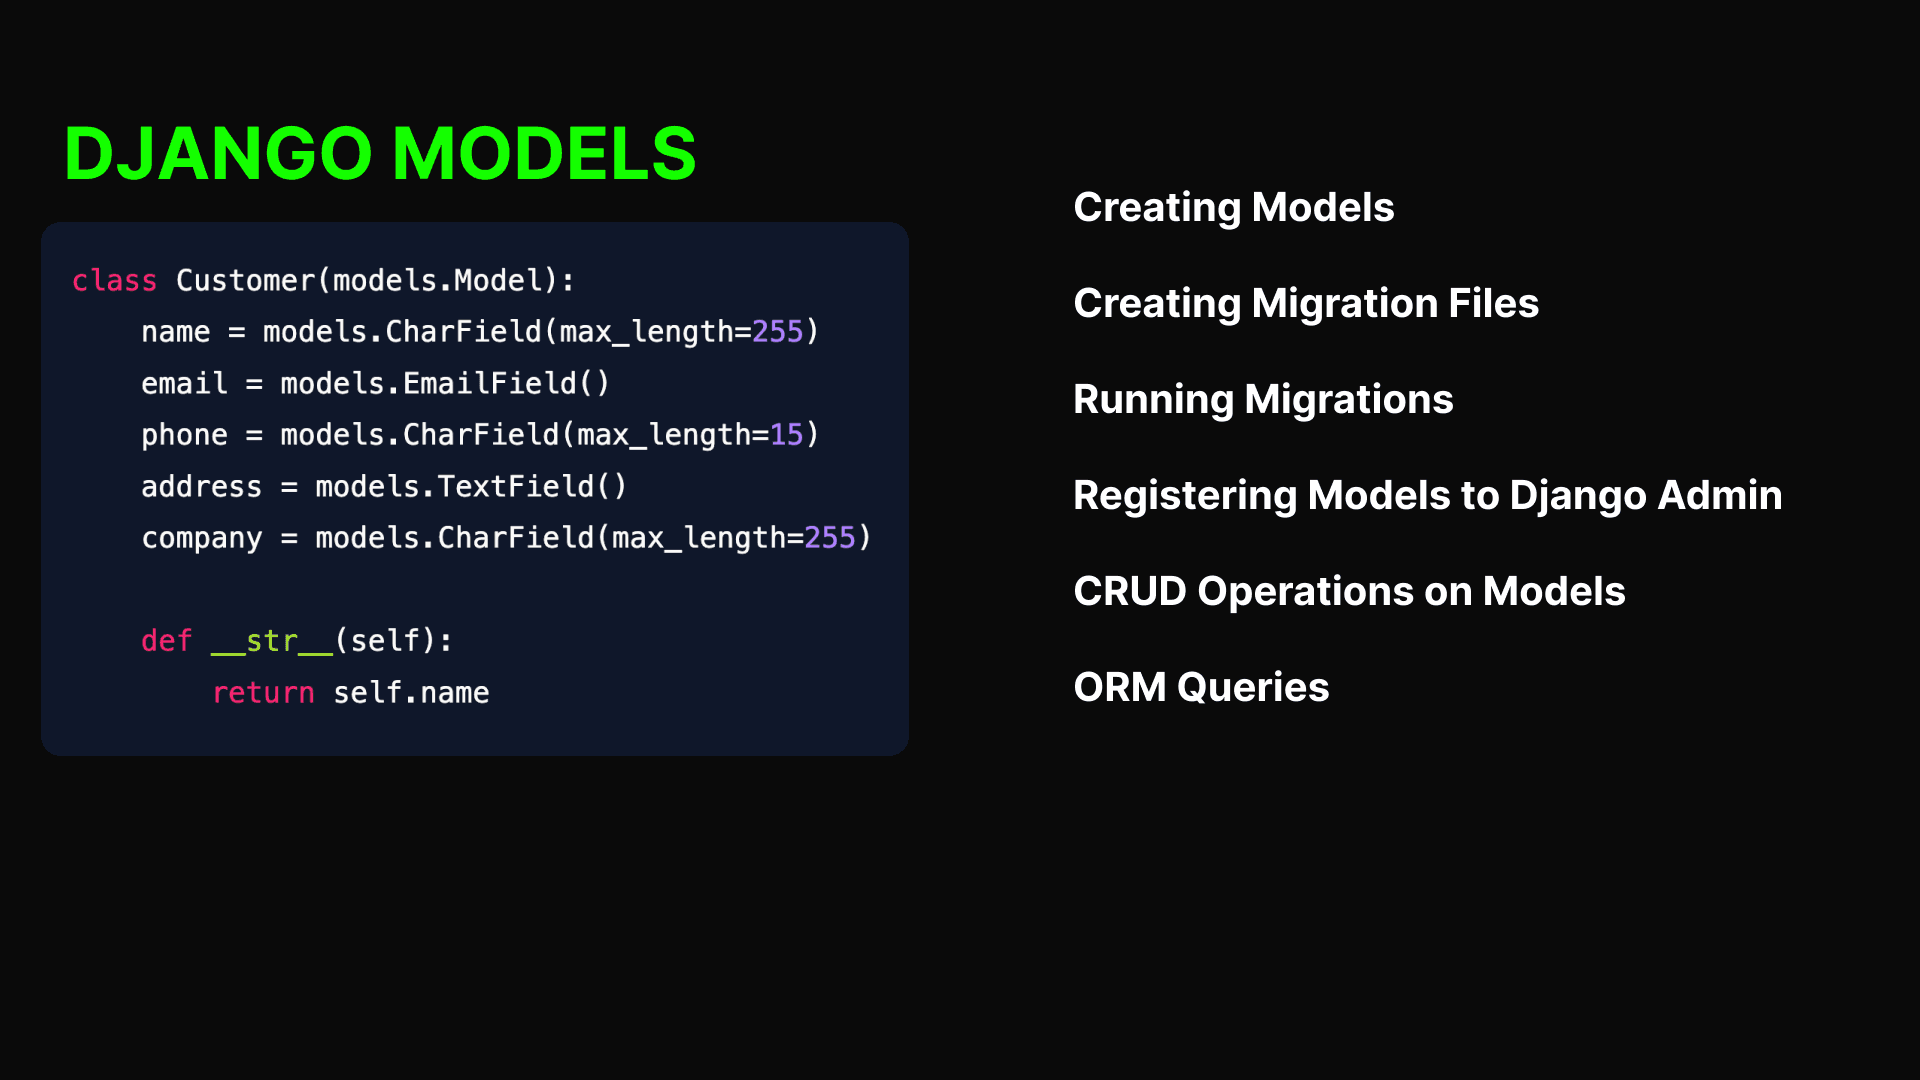
Django Models
Creating Models,Migrations,Running Migrations , Registering model to admin , ORM Queries
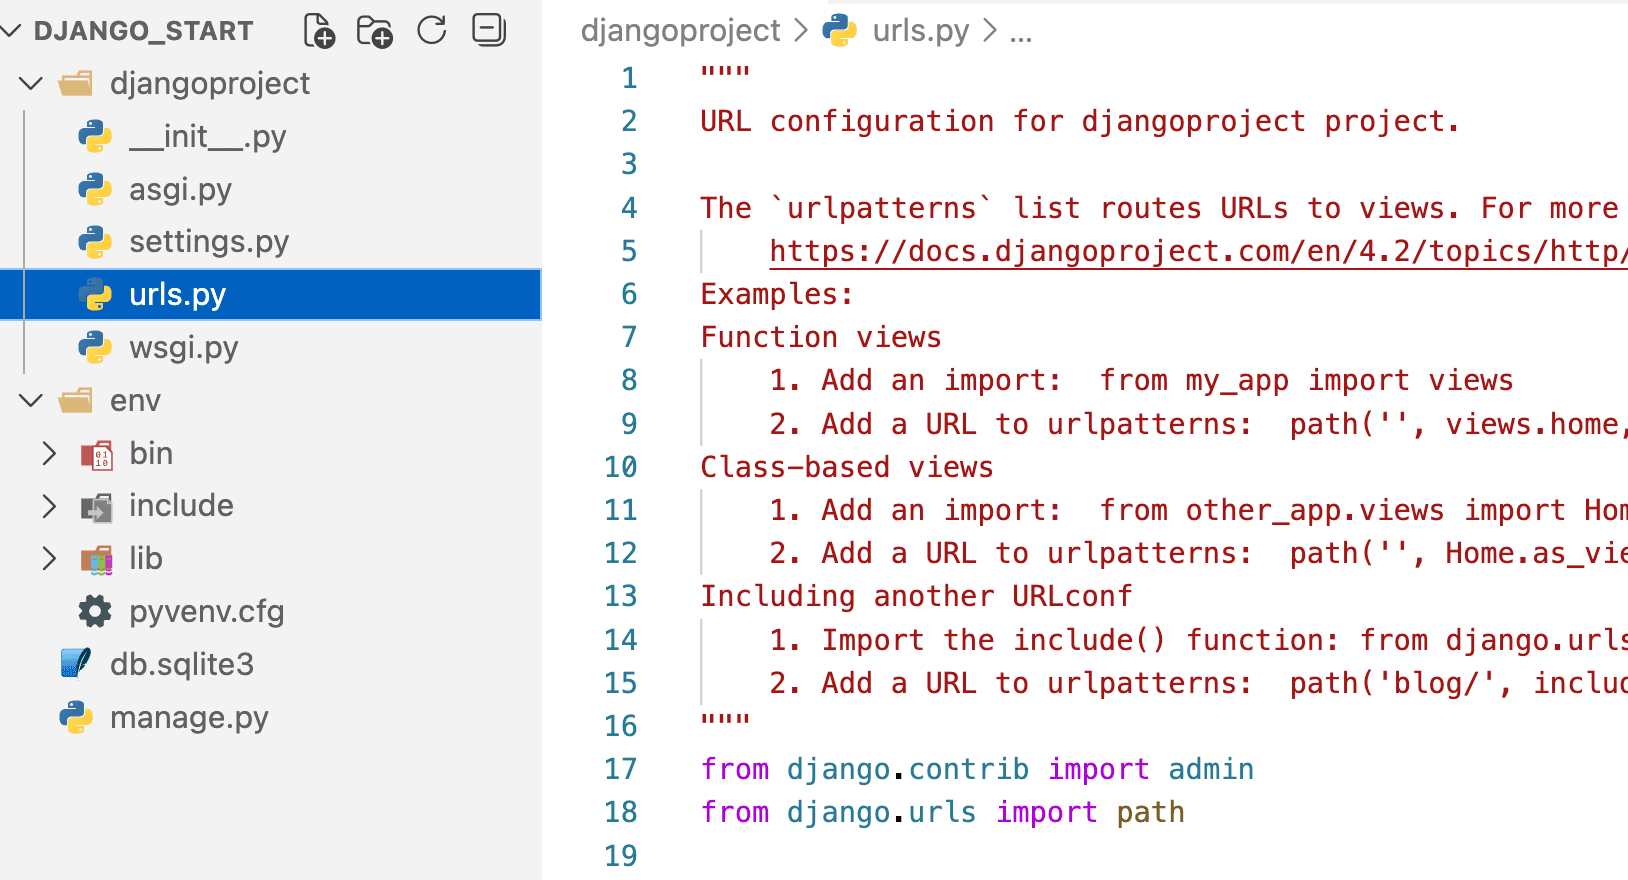
Making a Django App
python manage.py startapp app_name
Regularly used Django model fields:
CharField: Used for storing short to medium-length strings.TextField: Suitable for storing longer text content.IntegerField: Stores integer values, commonly used for numeric data.FloatField: Similar to IntegerField but for floating-point numbers.BooleanField: Represents a true/false field.DateField: Used for storing dates.TimeField: Stores time information.DateTimeField: Combines date and time in a single field.EmailField: Specifically designed for storing email addresses.ImageField: Used to store image files.FileField: General-purpose file field.ForeignKey: Establishes a many-to-one relationship between two models.ManyToManyField: Represents a many-to-many relationship.DecimalField: Used for storing decimal numbers with fixed precision.URLField: Stores URLs.
These are just some of the commonly used fields in Django models. Each field type is designed for specific data types and use cases in your application.
Person Model Example
# models.py
from django.db import models

class Person(models.Model):
    name = models.CharField(max_length=255)
    address = models.CharField(max_length=255)
    blood_group = models.CharField(max_length=5)
    age = models.IntegerField()
    gender = models.CharField(max_length=10)
    phone = models.CharField(max_length=15)
    email = models.EmailField()
Making Migrations:
Django's
makemigrationscommand analyzes your models and creates migration files that represent the changes you've made. Run the following command in your terminal:python manage.py makemigrationsIf your app is called
myapp, you can specify it as follows:python manage.py makemigrations myappThis command will create migration files based on the changes detected in your models. These migration files are stored in the
migrationsdirectory within your app.Reviewing Migration Files:
After running
makemigrations, you can review the generated migration files in themigrationsdirectory. These files contain Python code that Django will use to apply changes to your database schema.Applying Migrations:
Once you're satisfied with the migration files, you can apply them to your database using the
migratecommand:python manage.py migrateIf your app is called
myapp, you can specify it as follows:python manage.py migrate myappThis command executes the migration files and updates your database schema accordingly.
Verifying Changes:
After migrating, you can verify that the changes have been applied by accessing your database management tool (e.g., phpMyAdmin, pgAdmin) or by using Django's admin interface to view the
Personmodel.While using SQlite database , we can view the database using SQLiteViewer Extension in VsCode
Registering to Django admin
Registering a model to Django's admin interface allows you to manage that model's data through a web-based UI provided by Django. To register the Person model from your example to the Django admin, you need to follow these steps:
Create a Superuser:
Before accessing the admin interface, make sure you have a superuser account. If you haven't created one yet, run the following command and follow the prompts:
python manage.py createsuperuser

💡you wont see passwords while typing
Register the Model in
admin.py:In your app's
admin.pyfile, you need to import the model and then register it with the admin site. If you haven't already created anadmin.pyfile in your app, create one. Then, register your model as follows:# admin.py from django.contrib import admin from .models import Person admin.site.register(Person)This code imports the
Personmodel and registers it with the admin site.Accessing the Admin Interface:
Start your Django development server if it's not already running:
python manage.py runserverThen, open your web browser and navigate to
http://localhost:8000/admin(replacelocalhost:8000with your server address if it's different). Log in using the superuser credentials you created earlier.Manage
PersonObjects:Once logged in, you should see the Django admin interface. You'll find the
Personmodel listed there. Click on it to access thePersonobjects. You can add, edit, or deletePersonobjects through this interface.
That's it! You've now registered the Person model to Django's admin interface, allowing you to manage Person objects conveniently through a web-based UI. You can repeat these steps to register other models as needed.
Some examples of Django models that you can create for practice:
Blog Post Model:
 class Post(models.Model):
     title = models.CharField(max_length=100)
     content = models.TextField()
     author = models.ForeignKey(User, on_delete=models.CASCADE)
     created_at = models.DateTimeField(auto_now_add=True)
     updated_at = models.DateTimeField(auto_now=True)

     def __str__(self):
         return self.title
Product Model for an E-commerce Site:
 class Product(models.Model):
     name = models.CharField(max_length=255)
     description = models.TextField()
     price = models.DecimalField(max_digits=10, decimal_places=2)
     quantity = models.IntegerField()
     category = models.ForeignKey('Category', on_delete=models.CASCADE)

     def __str__(self):
         return self.name
Here
Categoryis another Model andProducthas ManytoOne(ForeignKey) relation toCategoryclass Category(models.Model): name = models.CharField(max_length=255) description = models.TextField() def __str__(self): return self.nameCustomer Model for CRM:
 class Customer(models.Model):
     name = models.CharField(max_length=255)
     email = models.EmailField()
     phone = models.CharField(max_length=15)
     address = models.TextField()
     company = models.CharField(max_length=255)

     def __str__(self):
         return self.name
Todo List Item Model:
 class TodoItem(models.Model):
     title = models.CharField(max_length=255)
     description = models.TextField(blank=True)
     completed = models.BooleanField(default=False)
     due_date = models.DateField(null=True, blank=True)

     def __str__(self):
         return self.title
Event Model for Calendar Application:
 class Event(models.Model):
     title = models.CharField(max_length=255)
     description = models.TextField(blank=True)
     location = models.CharField(max_length=255)
     start_time = models.DateTimeField()
     end_time = models.DateTimeField()

     def __str__(self):
         return self.title
These are just a few examples to get started. Depending on the requirements of your application, you can create various models to represent different types of data and relationships between them.
ORM Queries
In Django, the ORM (Object-Relational Mapping) allows you to interact with your database using Python code instead of raw SQL queries. Given the model example with a Person class in the Django app, let's explore some common ORM queries.
1. Query all persons:
all_persons = Person.objects.all()
2. Query a specific person by primary key:
person = Person.objects.get(pk=1)
3. Filter persons based on conditions:
# Persons older than 25
persons_over_25 = Person.objects.filter(age__gt=25)

# Persons with a specific blood group
persons_with_blood_group = Person.objects.filter(blood_group='A+')
4. Ordering persons:
# Order persons by age in descending order
ordered_persons = Person.objects.order_by('-age')
5. Counting records:
# Count all persons
total_persons = Person.objects.count()
6. Updating records:
# Update a person's phone number
person = Person.objects.get(pk=1)
person.phone = '1234567890'
person.save()
7. Deleting records:
# Delete a person by primary key
Person.objects.filter(pk=1).delete()
Certainly! Let's explore some additional Django ORM queries and concepts with the Person model:
8. Creating new records:
# Create a new person
new_person = Person.objects.create(
    name='John Doe',
    blood_group='O+',
    age=30,
    gender='Male',
    phone='9876543210',
    email='john.doe@example.com'
)
9. Chaining queries:
# Chain multiple queries
filtered_persons = Person.objects.filter(age__gt=25).exclude(gender='Female')
10. Using OR conditions:
from django.db.models import Q

# Persons older than 25 OR with blood group 'AB+'
persons_with_condition = Person.objects.filter(Q(age__gt=25) | Q(blood_group='AB+'))
11. Aggregation functions:
from django.db.models import Avg, Sum, Max, Min

# Calculate average age
average_age = Person.objects.aggregate(Avg('age'))

# Sum of ages
total_age = Person.objects.aggregate(Sum('age'))

# Maximum age
oldest_person = Person.objects.aggregate(Max('age'))

# Minimum age
youngest_person = Person.objects.aggregate(Min('age'))
12. Related models and queries:
# Assuming you have another model related to Person
class Address(models.Model):
    person = models.OneToOneField(Person, on_delete=models.CASCADE)
    street = models.CharField(max_length=255)
    city = models.CharField(max_length=100)

# Query persons with their associated addresses
persons_with_addresses = Person.objects.select_related('address')
13. Filtering with date fields:
from datetime import date

# Persons born after a specific date
persons_born_after = Person.objects.filter(birthdate__gt=date(1990, 1, 1))
These examples demonstrate the versatility of Django ORM, providing powerful tools for interacting with databases. Always refer to the Django documentation on models and queries for more in-depth information and options.
These are just a few examples of the many queries you can perform using Django ORM. Django's ORM simplifies database interactions by providing a high-level, Pythonic interface for working with databases, making it more readable and maintainable than raw SQL queries.